Are you struggling to create consistent character designs in Midjourney?
It can be a challenge to get your images to stay consistent when using Generative AI tools, but with the right process, it is possible to achieve the results you want.
In this post, I will guide you through 12 steps to help you create a consistent character in Midjourney V4.
So if you want to take your storytelling skills to the next level, read on to learn more about creating consistent characters in Midjourney or watch the YouTube video (Recommended)
YouTube:
How to Create A Consistent Character in Midjourney V4
If you are trying to create a visual story or a comic book with Generative AI tools like in this case with Midjourney, it can be a struggle to get your images to stay consistent in the designs.
This is my best process for trying to accomplish that, following these 12 steps could give you the results you want:
Step 1: Find the Perfect Character Image on Midjourney
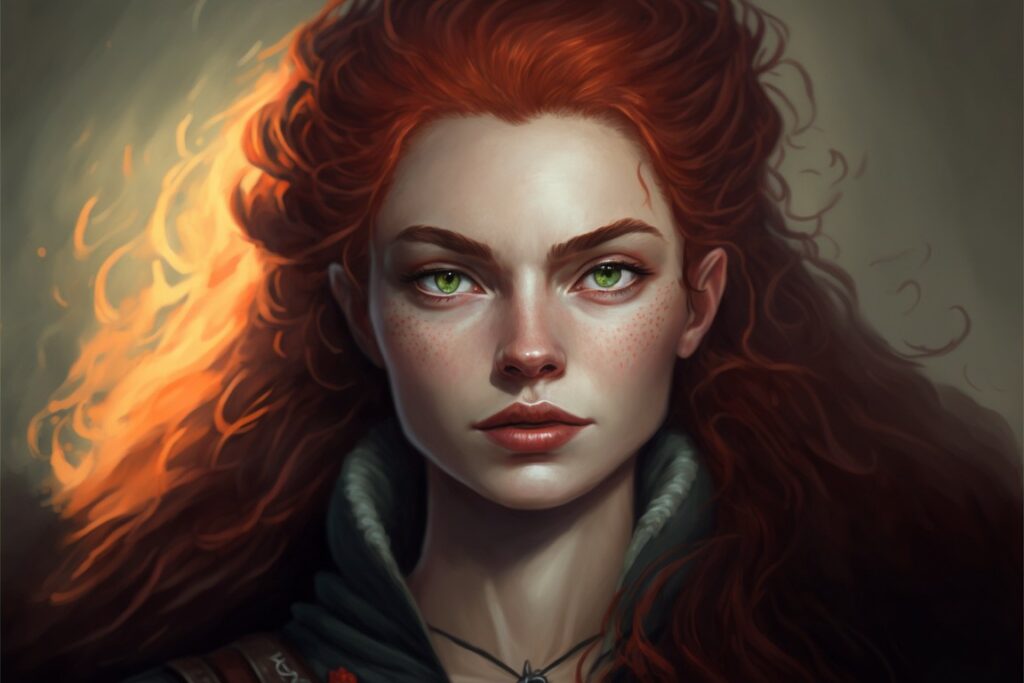
Go to Midourney and enter a similar simple prompt of the character you want, mine here is: “female row character, red hair, –ar 3:2.” Once the results appear, pick the image you like the most and hit “upscale”.
Step 2: Upload Your Image
After the upscale is complete, save the image to your computer and go back to Midjourney. Hit the “+” sign, and upload the file. Find the image in the folder and open it, then hit “Enter.”
Step 3: Copy the URL and Paste It in /imagine
Click on the image, right-click and copy the URL address. Go back to Midjourney and go to “/imagine”. Paste the URL address, then select a style/prompt. Here, choose “female row character, full body image –ar 3:2”, then hit “Enter” and wait for the results.
Step 4: Upscale Your Image and Wait for the Results
Pick the image you like the most, then hit “Upscale” and wait for the results.
Step 5: Rate the Image and Get a Unique Identifier
This is an important step – Rate the image with the heart emoji, then go to “Add Reaction” and click on the envelope. Scroll down and you will find a seed number.
This is the unique identifier for the character and it is essential for the next part of the process.–seed as the command that needs to be used if you want to add “unique identifier for the character
Eg: “Hannah the wild, portrait of a row character –q 2 –ar 3:2 –seed 123456789”
Step 6: Paste the Unique Character Name and Identifier in /imagine
Go to “/imagine”, then paste your unique character name. For example, “Hannah the wild, portrait of a row character –q 2 –ar 3:2”. An important step is that you also add the “seed number” at the end. Then, hit “Enter” and wait for the results.
Step 7: Upscale the Image and Wait for the Results
Pick the image you like the most, then hit “Upscale” and wait for the results.
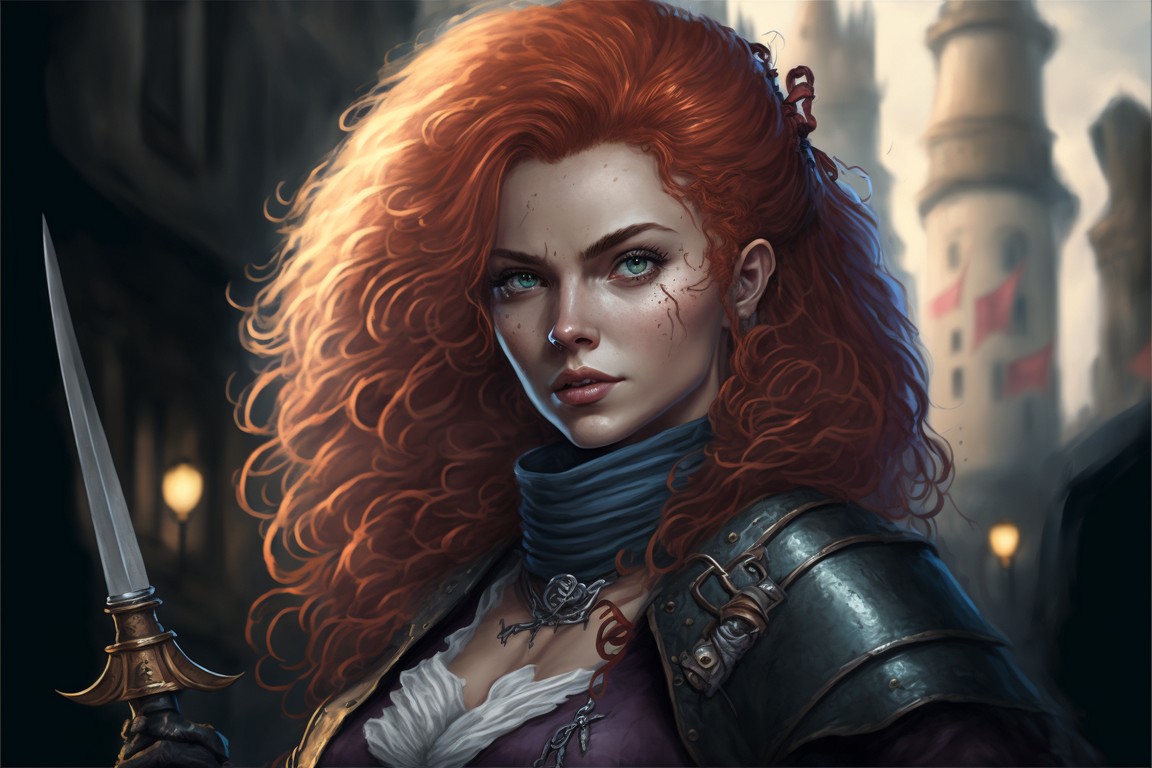
Step 8: Repeat Steps 5-7
Repeat the process from Step 5 again, where you give the image a rating, go to the envelope, scroll down, get the seed number, paste it at the end of your image name and hit enter.
Step 9: Make Sure Your Character Looks Consistent
Repeat this process at least five to seven times for different seed numbers, to get the desired consistent character/avatar.
Step 10: Test Your Character by Entering a New Prompt
After you have a number of images, test them by going to “/imagine”, then entering in your unique character name and a new prompt. Then, hit “Enter” and wait for the results.
Step 11: Upscale and Take a Closer Look At Your Image
Once you find a result you like, hit “Upscale” and take a closer look to make sure the image is what you wanted.
Step 12: Compare Your Original Image to the Result
Compare the original image and the new result to see if it looks consistent. If you are happy with the result, you have your consistent character/avatar.
Consistent Characters in Midjourney: The Key to Engaging Storytelling
When characters behave in a consistent manner and have well-defined personalities, it helps the audience to become more invested in the story and to feel more connected to the characters.
This can lead to a more enjoyable and satisfying experience for the audience, and can ultimately lead to better results for the story as a whole.
In order to create consistent characters in Midjourney, it is important to carefully consider their motivations, backgrounds, and personalities, and to ensure that their actions and behaviors are consistent with these characteristics throughout the story.
By taking the time to carefully craft well-rounded and believable characters, you can create a more immersive and engaging story that will resonate with your audience.
Examples of my consistent character creations in Midjoruney V4
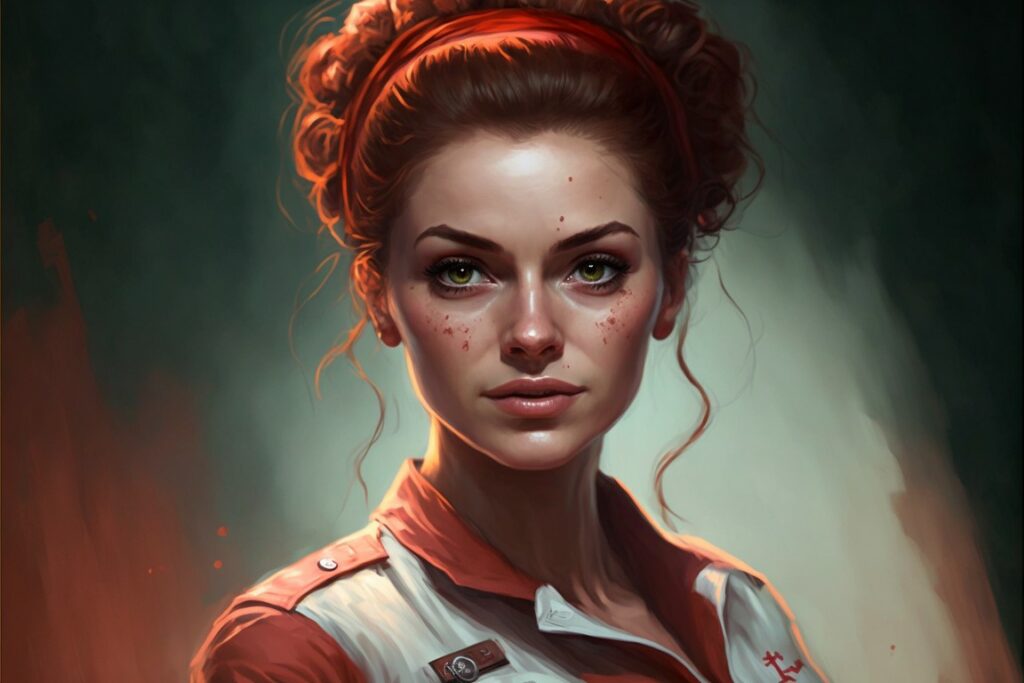
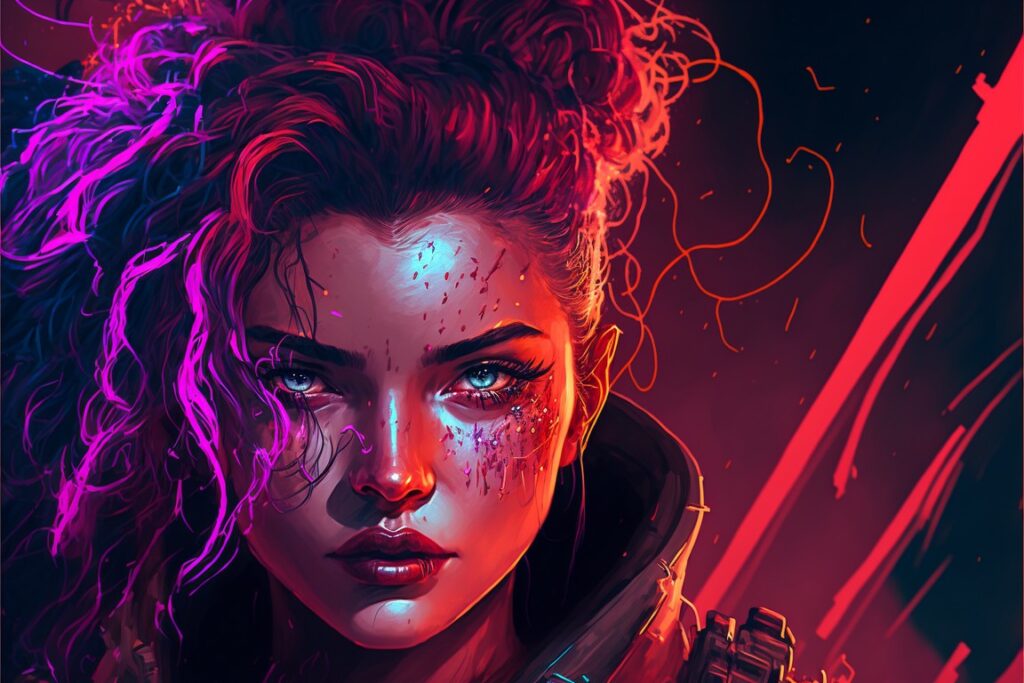
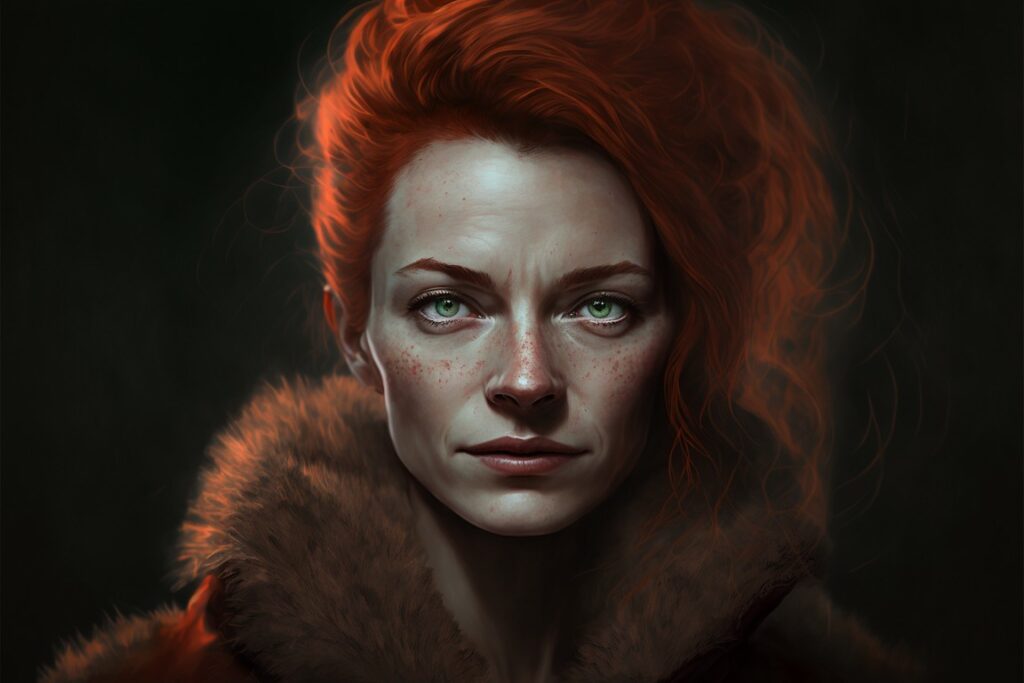
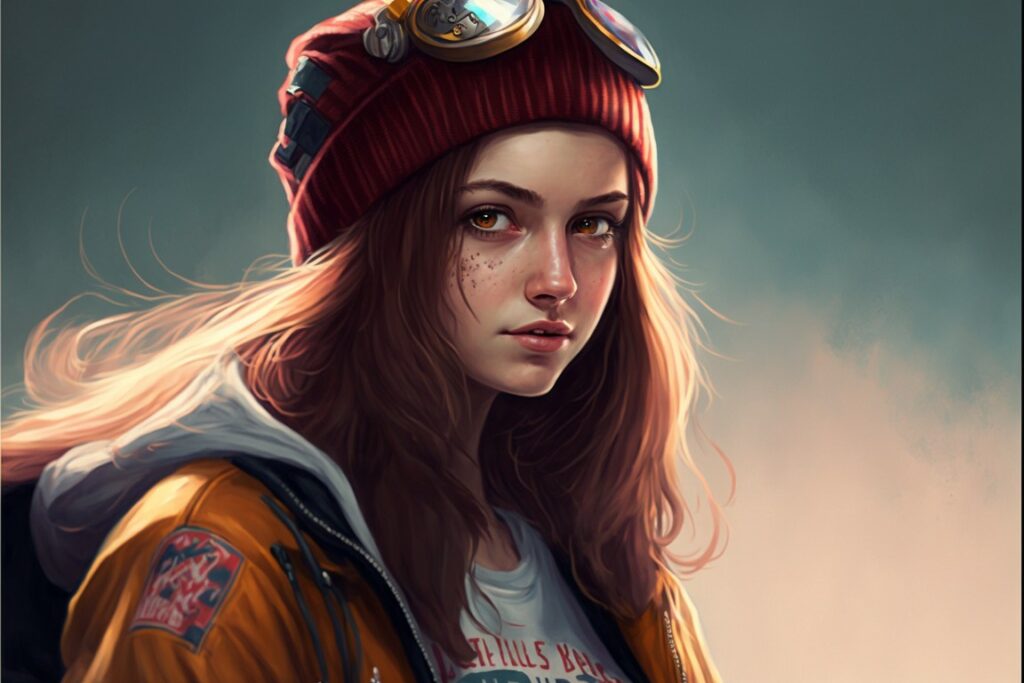
Here you can see some of my results from my using the 12 step process above to create a concistent character design in Midjourney:
Nurse
Original Character into a Nurse
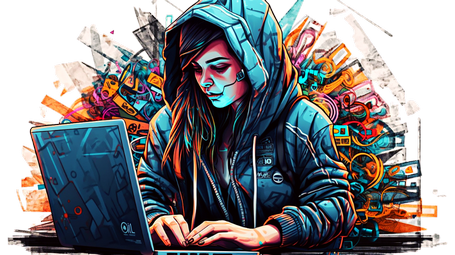
Cyberpunk
Original Character into a Cyberpunk
Woman
Original Character into a 40 year old woman
Skater Girl
Original Character into a Skater Girl
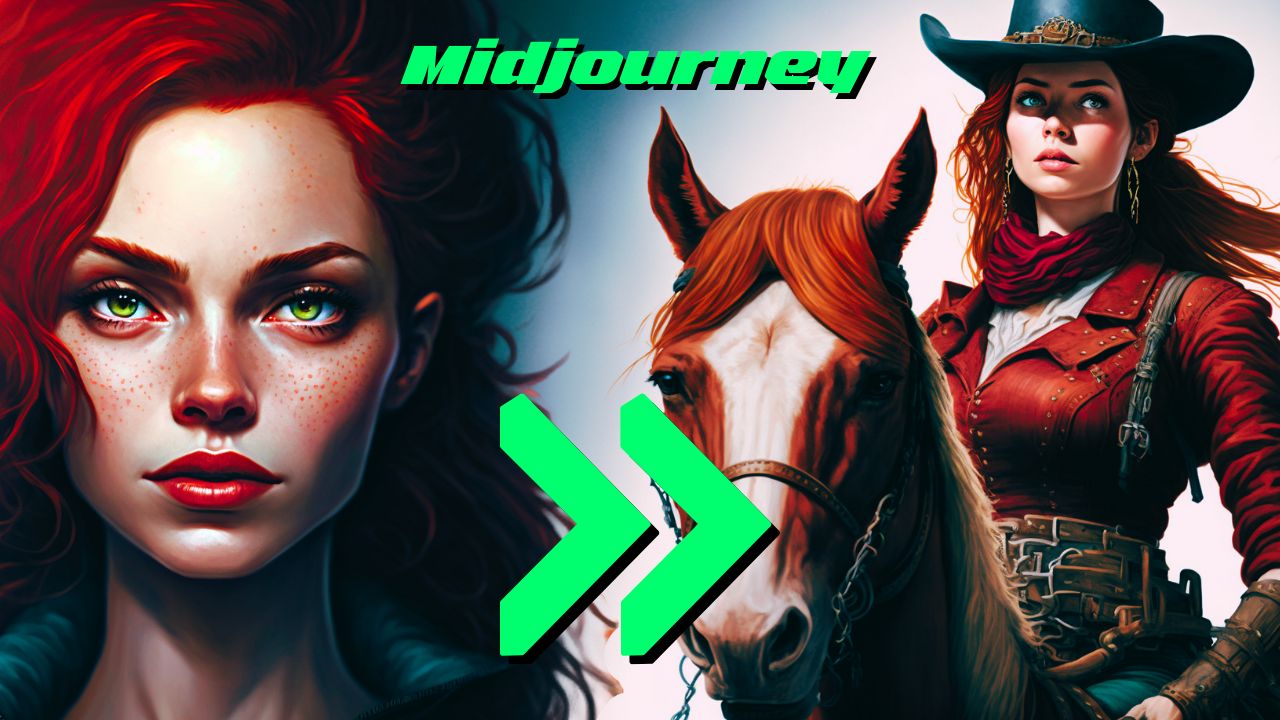
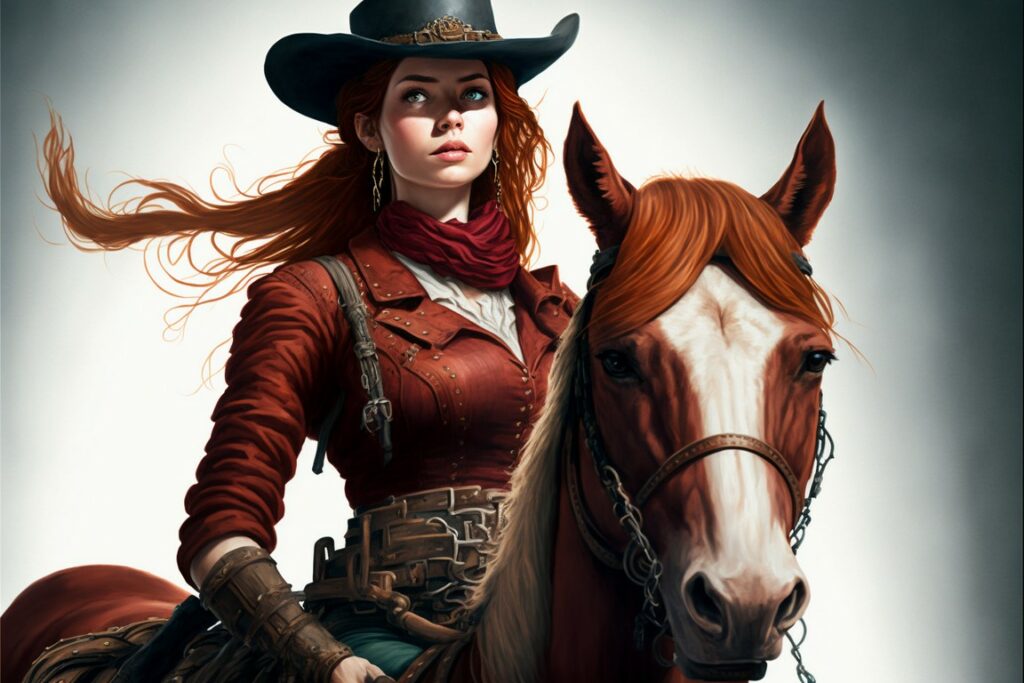
Wild West Girl
Original Character into a Wild West Character
Conclusion
In conclusion, creating consistent characters in Midjourney is a crucial step in the process of crafting a believable and engaging story.
By following the 12 steps outlined in this post, you can learn how to create a consistent character in Midjourney V4 and take your storytelling skills to the next level.
Whether you are working on a visual story or a comic book, these steps will help you craft well-rounded and believable characters that will captivate your audience.
So if you want to create a more immersive and satisfying story, be sure to follow these steps and see what you can create with Midjourney.
Please update step 5 and 6 to include –seed as the command that needs to be used if you want to add “unique identifier for the character
Eg: “Hannah the wild, portrait of a row character –q 2 –ar 3:2 –seed 123456789”
Thanks 🙂
this doesn’t work for me at all. The results I got in step 6 were completely different from the original character. Also what does ‘row character’ mean?
Same, I’m getting something totally different to what I had originally
I think that step Hannah the wild, portrait of a row character –q 2 –ar 3:2 –seed 123456789” is not clear, Is there a command like “/seed” or just start -seed, Hannah the wild, portrait of a row character –q 2 –ar 3:2 –seed 123454895?
As I am reading in the doc (https://docs.midjourney.com/docs/seeds) midjourney paramenter are are prefixed with 2 dash: `–`, not with one `-`. So it is `–seed`. I don’t know if it is problem with the web editor.
Ups… same issue in my comment above. Use 2 dashes :), even if it only appears one here
it’s just great! You inspire me! I’ve also been actively studying AI lately. I will try to do this, and if there are problems, can I contact you?
Yes! Just send me a mail 🙂
How about the clothes? They change everytime, can you use same outfit/clothes for every images?
any luck or guidance on figuring this out?
AI can be used to enhance human decision-making by providing valuable insights and analysis that would be impossible for humans to achieve on their own.
Thanks. What about when you have more than one character in each scene and you want to keep them consistent throughout the story. Can one seed be used for all the characters?
Thank you for this great guide, Kristian!
I’m running into two different issues though.
1. I can’t make a seed anymore. It worked when I was on the Basic plan, but not after upgrading to the Standard plan. Not reaction when sending the envelope and I can’t retrieve it from my account on the MJ website either. But it still works to get the seed from the pictures made under the basic plan. Have you experienced the same?
2. I seem to get the same character over and over. But not the one I am aiming for. This happens when I start from the top and when I get to step 6.
Hi! Is there any way to get a seed number out of MJ V5? There is no envelope in the comments and my gallery app says that the seed is copied but in fact, it doesn’t.
Yeah, do an envelope reaction to your chosen image.
Upscaled images cannot be tagged with an envelope to get the seed. Only the four rendered images can as they share the same seed I was told. Strangely the characters can look very different in those four pictures.
Unclear in Step 5 if URL has to be used again. Without I am getting totally different results despite using my seed number.